

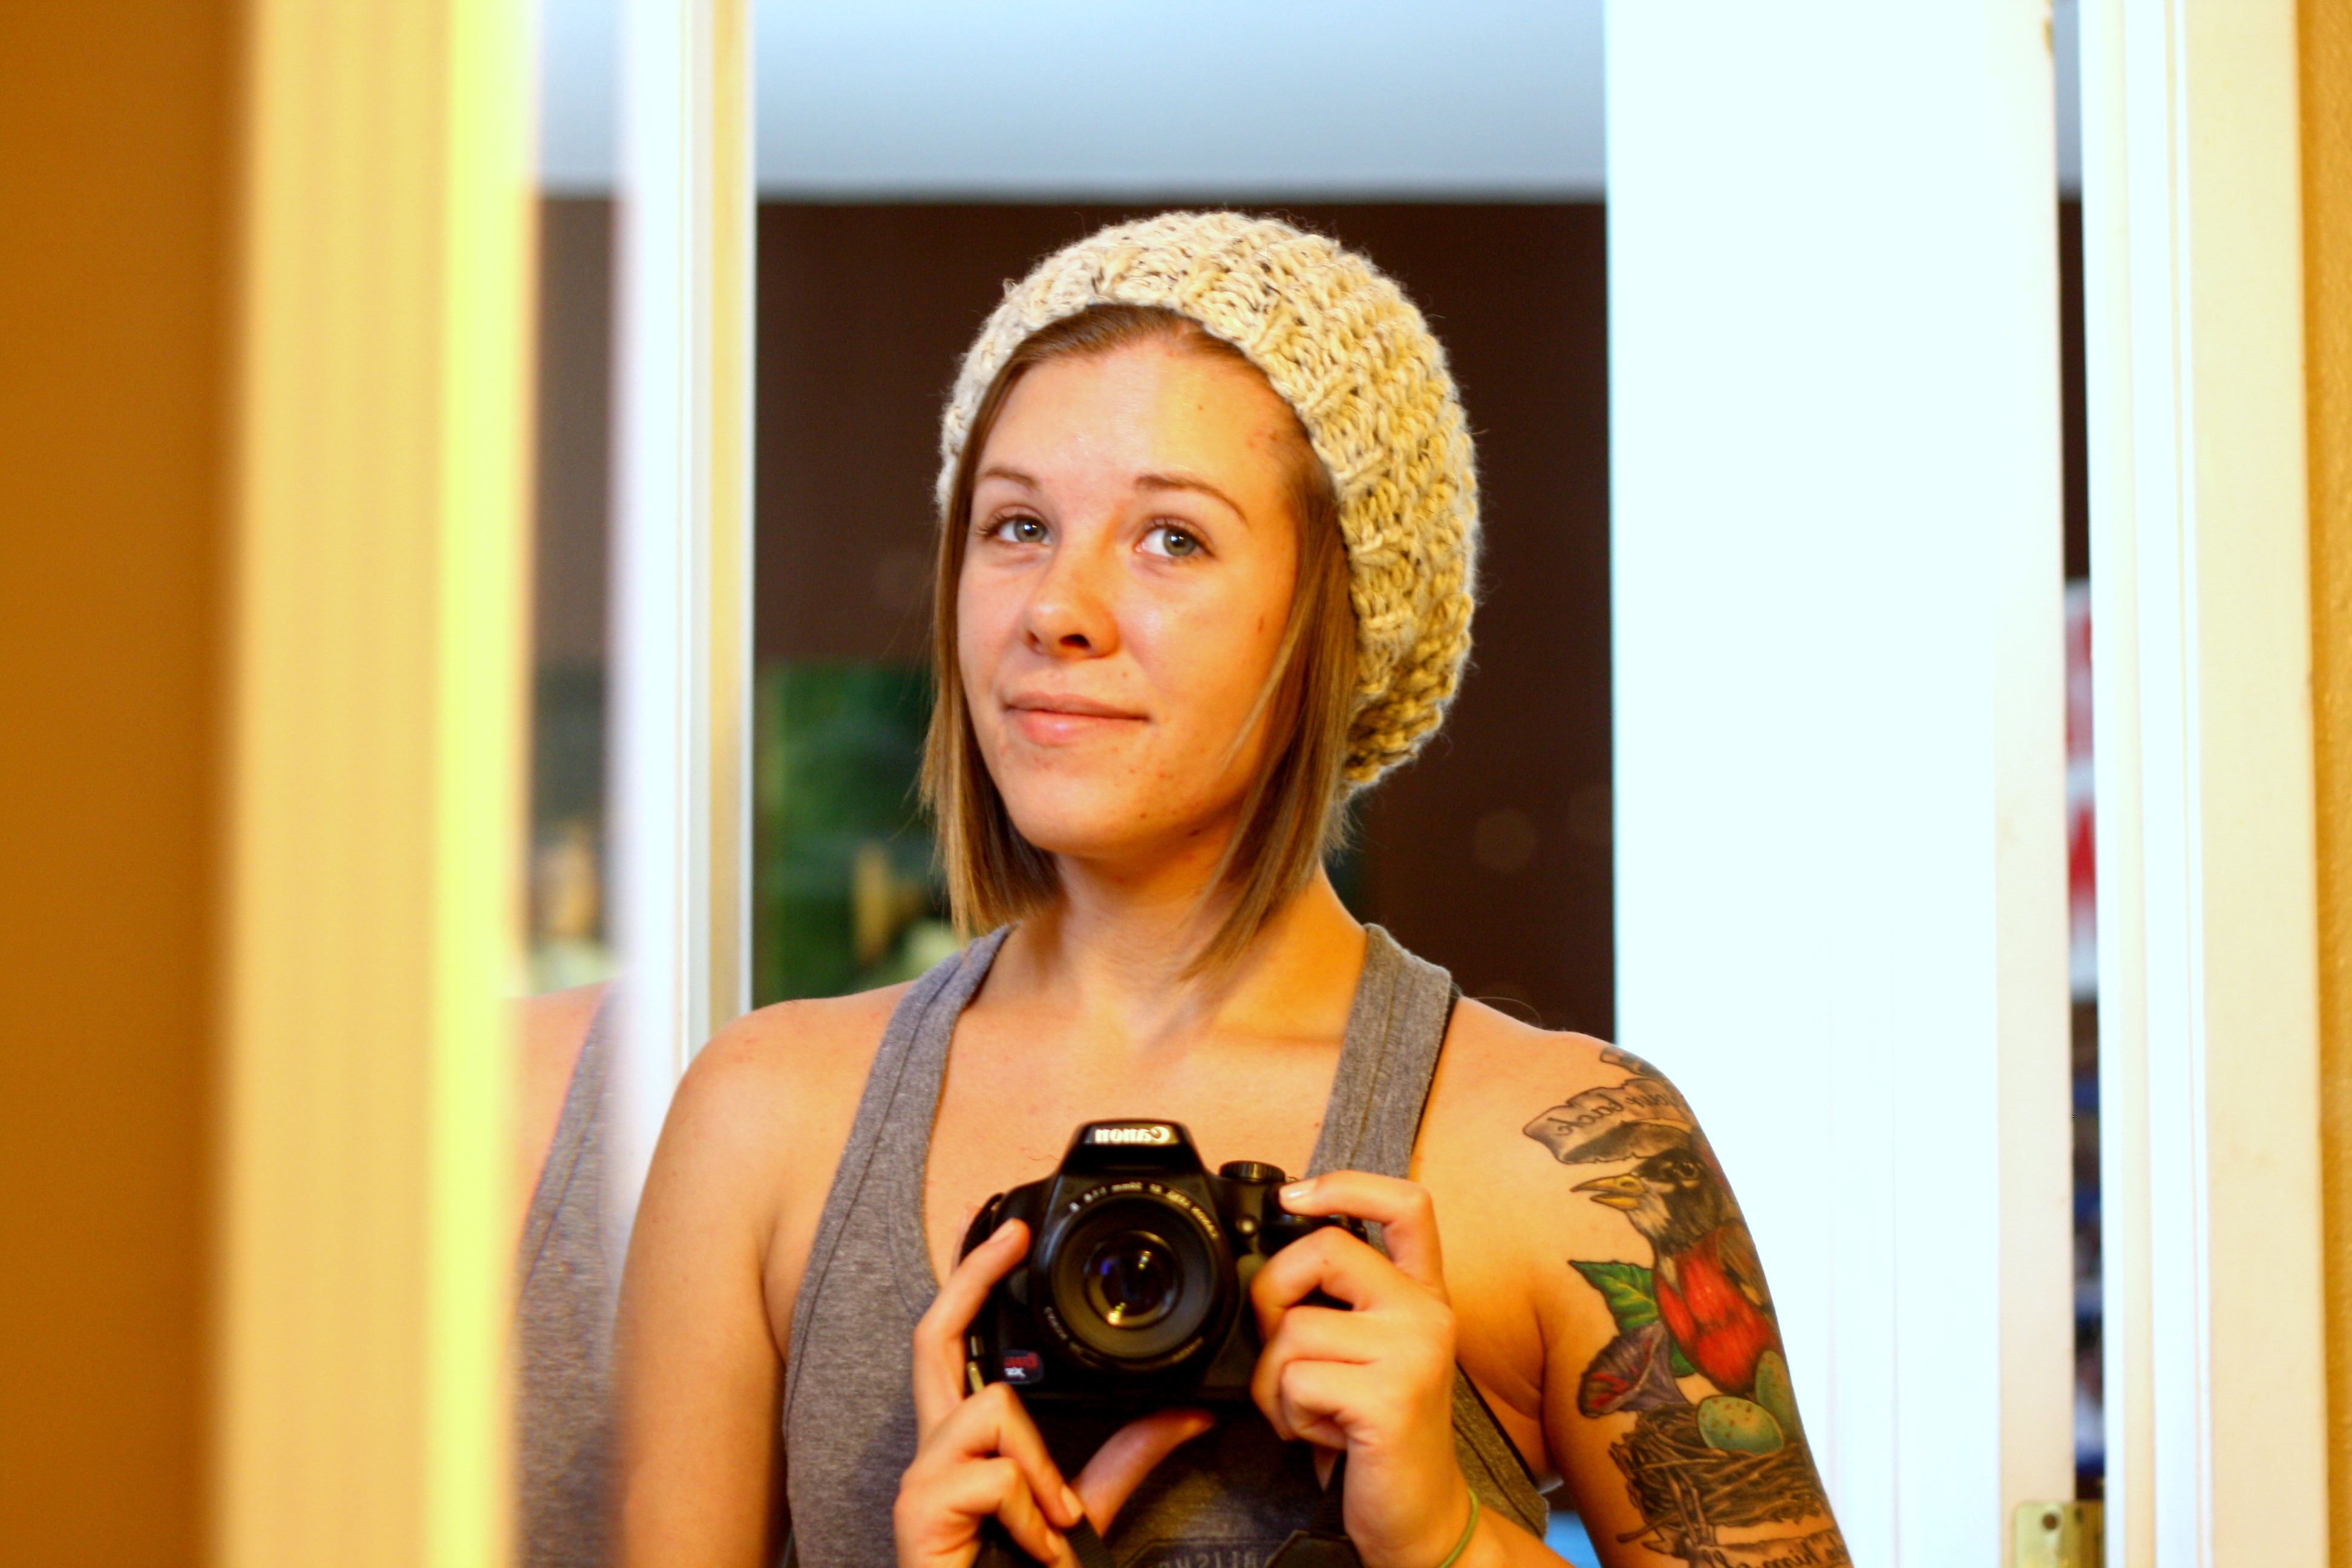


So I was doing some window shopping on the internet the other day and found this beanie on the Brandy Melville site (http://www.brandymelvilleusa.com/accessories/beanies/haylynn-knit-beanie-097.html) that I loved. But it was $20. “Seriously, $20? I could make something just like that!” – that was my thought process. So I gathered up some of my knitting supplies and made a similar beanie for less than a third of the cost.
Supplies used:
- 1 skein Deborah Norville Serenity chunky tweed yarn (other bulky weight yarns will work just as well)
- US 11 (8.0 mm) 16 inch circular needles
- US 8 (5.0 mm) DPNs (4 or 5 DPNs depending on your preference)
- Place marker (not necessary but very useful)
- Tapestry needle
Preface:
*Note – this information may be useful for beginners; if you are a well-versed knitter or have knit a hat or two before, feel free to skip ahead
My head measures about 22 inches, so I did a gauge swatch (4in. X 4in square in garter stich) with the circular needles to determine how many stitches per inch I would normally knit. I measured 2 stitches per inch (the yarn is fairly bulky). Originally I had intended to only cast on 40 stitches, but I cast on 42 instead so that I could knit more comfortably in the round (40 was a little tight when I tried it first).
You could go off of the measurements that I used for myself, but I would highly suggest:
- measuring your own head
- making your own gauge swatch with the yarn and needles that you intend to use for this project
- determining the number of stitches that you made per inch in your gauge swatch
- calculating the number of stitches that you would need to cast on
*Helpful formula for determining number of cast-on stitches*: (head measurement – 2 inches) x (number of stitches per inch)
Alright, now for the actual pattern.
Abbreviations:
K1 – knit 1
P1 – pearl 1
PFB – pearl front and back
K2Tog – knit two together
Pattern:
Brim:
Cast on 42 stitches (or number determined by gauge) in an alternating knit 1, pearl 1 pattern using the cable cast-on method. The first stitch will be your pearl stitch; the next stitch will be cast on knit-wise.
Continue in the P1 K1 cast-on pattern until you reach 42 stitches; place your place-marker, turn work and join in the round. Work in the K1 P1 rib pattern until the brim measures 1 1/2 inches. At the beginning of the next round, increase using the PFB method; pearl the rest of the stitches in this round.
Body:
Work in a K1 P1 pattern until the total work measures 7 inches (including the brim). So far, you should have a K1P1 ribbed brim and a seed stitch body.
Decrease:
Switch to DPNs. Spread all stitches across your DPNs (note to beginners: use all but one needle; that last DPN is what you will use to knit with).
row 1: *Knit 4, K2Tog* – repeat to the end of the round
row 2: Knit all stitches to the end of the round
row 3: *Knit 3, K2Tog* – repeat to the end of the round
row 4: Knit all stitches
row 5: *Knit 2, K2Tog* – repeat to the end of the round
row 6: Knit all stitches
row 7: *Knit 1, K2Tog* – repeat to the end of the round
row 8: Knit all stitches
row 9: K2Tog all stitches until the end of the round
row 10: Knit all stitches
Use your tapestry needle to thread the yarn through the remaining stitches; weave in any yarn tails.
Please, if you have any questions, comments, concerns, etc., leave a message in the comments below.
If you want me to make any tutorial blogs or videos for any of the methods mentioned in this blog post (e.g. cable cast-on method, PFB, making a gauge swatch, determining amount of cast-on stitches, etc.), I’d be more than happy to. Just let me know in the comments. 🙂
Stay bitchin’!


I always try to crochet my beanies and they end up being able to fit a large watermelon….I can definitely get over excited with the
“Slouchy” part. Will have to try this route too! Did it end up coming out pretty thick?
LikeLike
I know what you mean, I’ve learned through experience that a little can go a long way when you’re making slouchy beanies. This hat turned out pretty thick, which was my intention. But if you would prefer more of a looser knit, you could try a larger needle size or a thinner yarn. Just remember to do a gauge swatch. 🙂
LikeLike
After the rib band you say to increase, but how many stitches do you increase?
LikeLike
Hi Jill,
I didn’t realize how vague that was, so sorry about that. I increased by one stitch, and that was only for the purpose of changing the number of stitches on the needle from an even number to an odd number. I added an increase because I knew that if I worked a seed stitch with an even number of stitches, I would have to remember to work row 1 in a K1-P1 pattern and row 2 in a P1-K1 pattern. But if the number of stitches is odd, you don’t have to keep track of which row is which, you only have to do the K1-P1 pattern for the whole body.
Personally, I tend to knit pretty loosely so I only increased by 1, but you can increase by more if you find that your beanie is not as slouchy as you would like. If you decide to increase by 2 (or any other even number), you would need to adjust the pattern so that you K1-P1 on one row, and P1-K1 on the next row. If you increase by 3, or any other odd number, you can work K1-P1 for all stitches in the round, just like in the pattern.
I hope this makes sense, please let me know if there is anything else that needs clarification, I am more than happy to help. 🙂
LikeLike
first i’d like to thank you for this very cool & easy pattern!
just one part of the instructions i didn’t understand:
for an increase, you say “At the beginning of the next round, increase using the PFB method; pearl the rest of the stitches (…)”
so am i supposed to only make one increase from the first stich and then purl all the others? or how many times would you reccomend to increase stitches during the first round?
in the pictures it just looks like you’ve increased by more than one stitches for the body…but it’s not quite clear from the instructions.
would be lovely if you could help me out here!
LikeLike
Hi there, so sorry that I’m getting back to you so late! I haven’t checked-in in a while, I didn’t realize that anyone actually looked at my blog!
So for my beanie, I only did one increase and worked the rest in the pattern like normal. I did the increase so that instead of having an even number of stitches I’d have an odd number, and this just makes the seed stitch pattern easier. Because the number of stitches becomes odd due to the increase, you can just knit in an alternating K1-P1 pattern for the whole body instead of having to remember to do K1-P1-K1-P1 etc for the first row and then P1-K1-P1-K1 etc for the next row.
But you can absolutely increase by more if you would like the body to have a slouchier look. I find that I tend to knit pretty loosely, so if your beanie isn’t as slouchy as you want it, definitely increase more. If you increase by 3, the seed stitch body pattern will still work because you still end up with an odd number of stitches on the needle. But if you decide to increase by 2 instead of 1, you would need to adjust the body pattern so that row 1 is knit in the K1-P1 pattern and row 2 is knit in the P1-K1 pattern.
I hope that makes sense, please let me know if there is anything else I can clarify for you; I am more than happy to help. Again, so sorry for getting back to you so late!
LikeLike
HI, I am in love with your pattern, is there any way this can be knit flat instead of circulars and dpns? Ive made several hats before, but the look of yours is exactly what I am after.
LikeLike
I’m so sorry for never getting back to you, I haven’t been on here in forever! I’ve personally never tried knitting a hat flat like that, but I’m sure it’s entirely possible, even for this pattern. I think the seed stitch pattern is pretty straight forward, I think it would just be a matter of gauging/measuring. If you tried it, let me know how it turned out!
LikeLike
I see that you specify the size 11 circular needles and size 8 double pointed needles. I am assuming that you start out with the size 8 and change to the size 11 when you do the increase and work on the body?? Then you mention later that you change to the double pointed needles again when doing the decreases. Is this where I should go back to the size 8 double pointed needles again?
I apologize if I am overthinking this pattern. I probably need more specifics than the average knitter.
Thanks in advance.
LikeLike
Hi Lois, I probably didn’t specify in the pattern, but I started with the size 11 circular needles, then I switched to the size 8 double pointed needles for the decrease rounds. Hope that helps clarify! 🙂
LikeLike